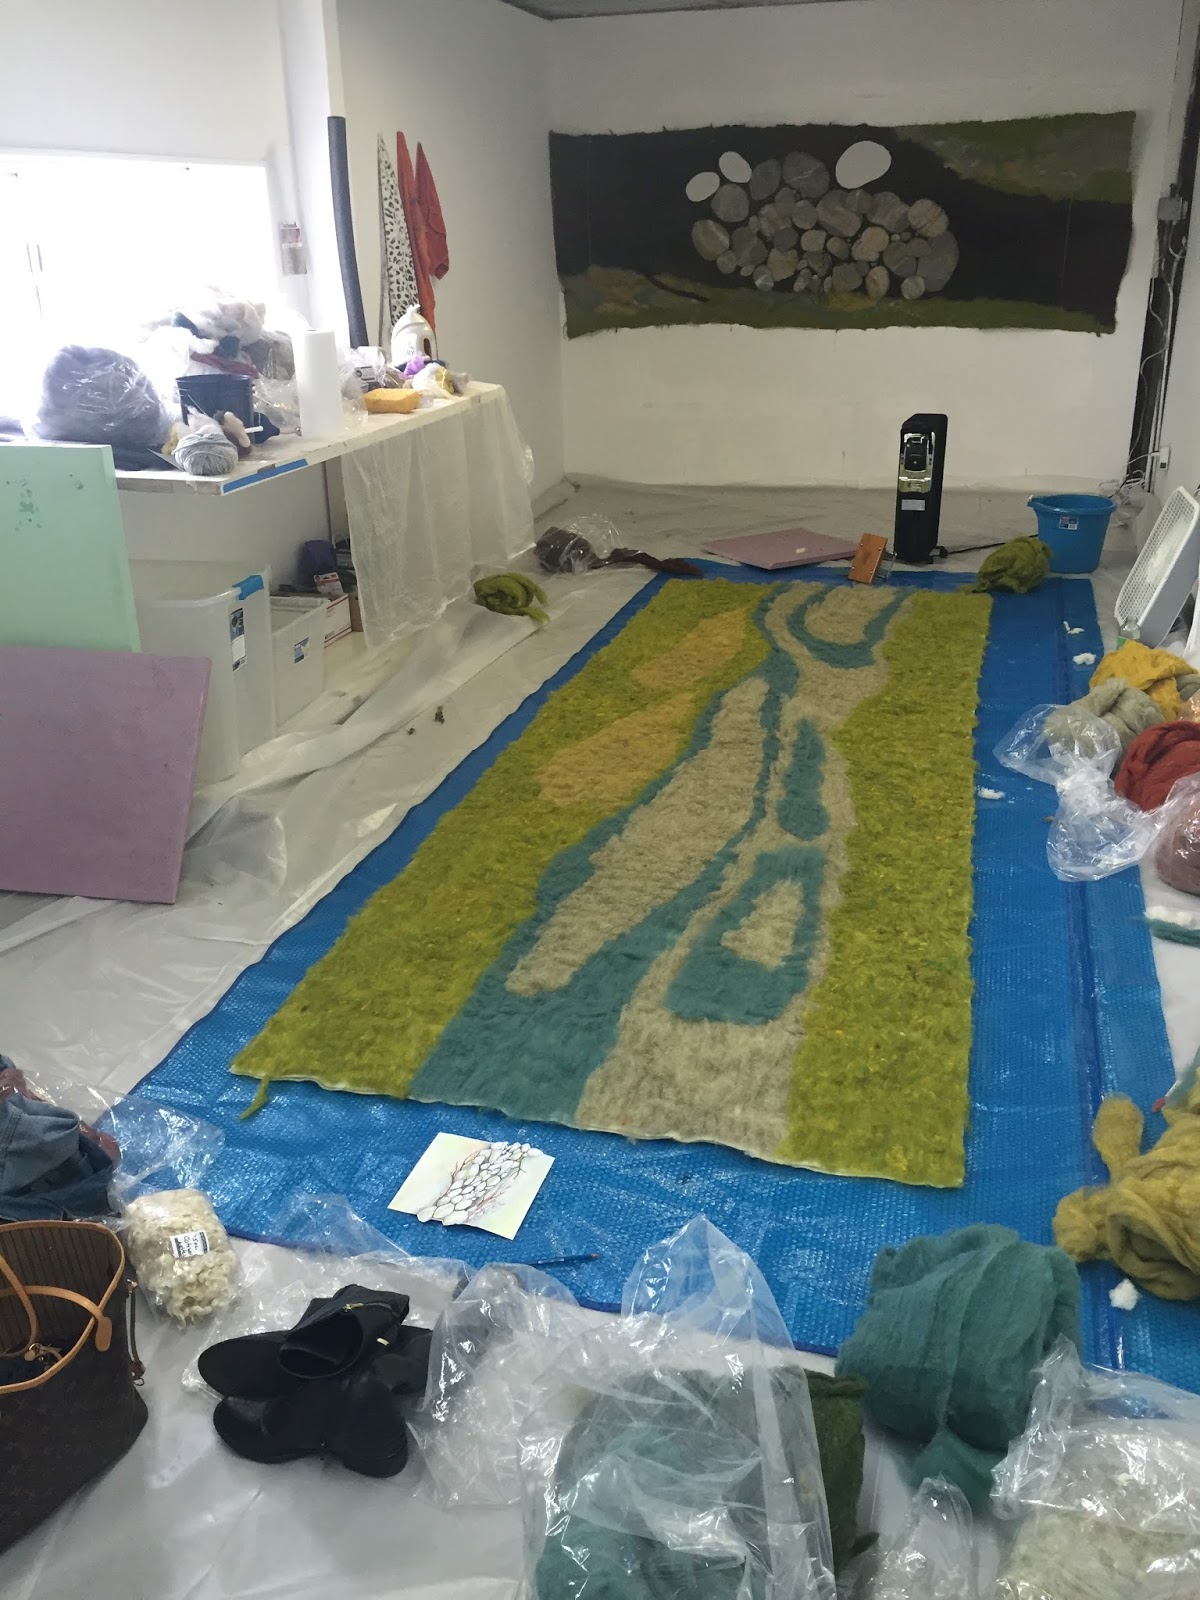
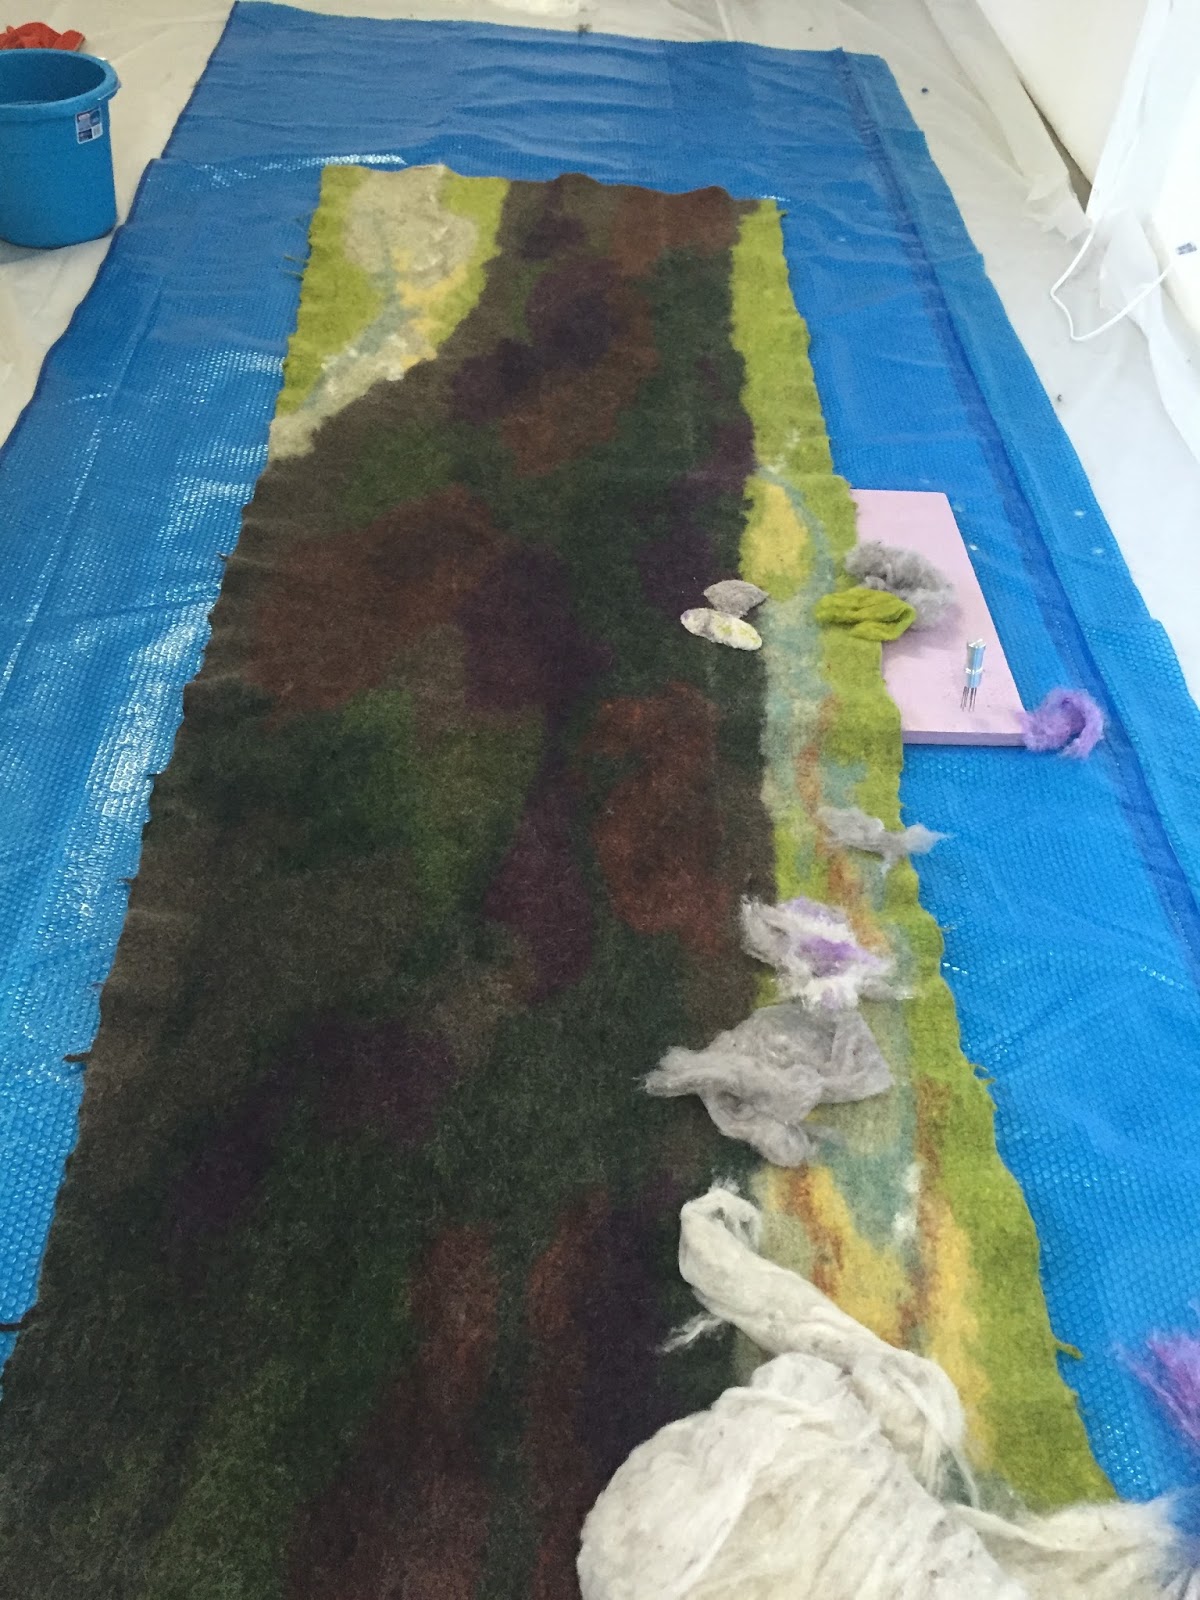
Sunday, February 7, 2010

Hanging devices


Hanging option. Described below in post...

Complete...


3D option...


Modern Landscape II and III waiting for their hanging devices.

One of the big steps in getting work ready for the gallery are the hanging logistics. You can create wonderful felted work, but if it does not hang properly, it can look really amateur. I have seen it...Heck, I have done it.

Even before I begin to felt a piece, I often consider how am I going to hang this as I may structure it in a way based on this, especially the 3d work. I also sometimes consider photography as, if you cannot take a good image, it is very difficult for a piece to find it's place in a juried show or to be included on my website if it cannot be truly represented in an image.

Sometimes it is trail and error and, whenever possible, I try to hang the piece for several days to make sure that how it hangs does not change as gravity sets in over time! The large "Modern Landscape" I recently completed has an "arm" on the bottom of each side that I was concerned might flip a bit once hung. It was steamed completely flat and hung right away and weeks later, still looks good. I need to know that when in the gallery for a month it will look the same as when it was hung on day one. For my pods, wire is sewn on and each hung to make sure they hang exactly as desired and with little margin for someone to hang it incorrectly, as I rarely get to hang my own work.
Once my 3 large pods were complete, I noted that if I were to expect to put the price on the I require to pay for my time and materials (see previous post on the real cost of work), A set of 3 hooks from the garden centre would not do! I have commissioned a local artist/blacksmith to create a custom hanging device. I akin it to proper framing. It can be costly, you must build it in the cost, but it elevates the work to where it needs to be rather that devaluing it. Must be done here.
As a member of a fibre group that includes art quilt makers with flawless work that hangs from the wall poker straight, I recognized I need to strive for this myself. You can still have an organic edge, but it must hang cleanly.
This is my system:
1.) Sew on velcro. Stitch 2 inch wide "velour" part across the back top edge, pinning in place so it is stitched on completely flat.
2.) staple the "crochet" part to a 2 inch wide piece of wood
3.) screw 2 little eye hooks on the top edge of the wood.
4.) put the 2 together. They stay this way, do not take apart, roll up for transport.
Visit my site www.andrea-graham.com

Thursday, February 4, 2010

New Work


Finish... (that's a sunbeam not the design, FYI) "Modern Landscape II and III"


Start...


These are 2 pieces for my show and will hang with the larger long green one. I decided with all the sculptural work, some 2D work was needed. The colour will go nicely with the pods and other coloured pieces. It is funny to think I have been largely in neutrals for so long. I Love neutrals, but I found at another show my work disappeared into the wall. This gallery has excellent lighting, so less of an issue, but I will be so curious to see these pieces hanging in the gallery. My hands are, once again, bleeding, so a day of rest/sketching/layout is ahead. I also have things to do away from the studio tomorrow and family festivites this weekend. It may be a good time to clean up the studio, put away some things and have a fresh start. That always feels so good!


Visit my site www.andrea-graham.com

Monday, February 1, 2010

Getting Closer!


Preparing for a show means much more than making a whole bunch of art. I have:

filled out contracts, signed grant forms, tracked expenses, ordered invitations (three times!), measured, photographed, printed pictures, attached hanging devices and typed out detailed hanging instructions. In the image you see some of the pieces ready for transport to to gallery. I still need to find some cheap bubble wrap for some pieces (you would think I would know where to find that). I am trying to get them ready as I go because all of this takes longer than one thinks and I want to avoid all the last minute rushing around. I do have 2 more pieces laid out and hope to get them well underway today. So far just the first layer is down. I am running low on my favorite finn wool, so I am being cautious with it's use! This first layer is my "filler" Harrisville wool and there will be Finn and other wools on top. I will show when the layout is done!! Oh, I get excited at the prospect of it!

I am procrastiating on my Lark books entry as I cannot decide what to submitt. I know we can submitt 5 images, so I should not have such a tough time. The process is a bit daunting with all the image restrictions, but I know myself well enough that I will regret it if I do not enter! Anyway, to the studio!

Visit my site www.andrea-graham.com

Saturday, January 30, 2010

Next Stage

Trimmed image.....


Photographing these pieces is a challenge as my ceiling is lower than the will hang and I need to get back quite far to get them in. The will be photographed at the Gallery by Tracy Olan, where the scale will be easier to see and we can shoot it from further away. This shows my usual set up to shoot in my studio with my white cloth clothes pegged up and the pieces hanging. Depending on the pieces, I shoot with white and balck backdrops. I am not happy with this image, so will be going back now to try again. I am also trying some other pieces for the Lark book...I'll get back to you!


Visit my site www.andrea-graham.com

Thursday, January 28, 2010

How much is that pod in the window? Caution: a bit of a Rant!

Something I have frequently encountered is artists asking what they should charge for a piece and alternatively, the potential art purchasers confusion with what one (me, perhaps) charges for a piece. Please, allow me to give you the low-down, the 411, the skinny, the scoop, if you will.

I will spare you the whole "I am creating every moment" thing. While I am, I cannot possibly calculate that time and charge for it, although that would be nice...okay, I digress...Here we go:
Large pods I am working on:
Each pod: 20 hours each labour (this is the hands on the wool making-Yes, I kept track)
20 hours x $20 (an arbitrary hourly rate)
= $400
+ $50 materials
x 2 (I multiply x2 because the galleries I deal with take 50%) = $900
= I must price at $900 per pod minimum.
now add...
GST and PST ($72 + $45.00)= total cost for each pods retail: $1,017
What I get paid: $450- minus materials and hanging device and time to install ($40)= $360 (my $20 an hour is now $18. Add in prep time and you can do the math)

Make sense? So $1,017.50 retail= $360 to artist...Next time someone scoffs at the price of art, enlighten them, and next time you think of charging less for a piece of art, consider the cost to the market for one of a kind felted work....
This rant: Free of charge ;o)


Visit my site www.andrea-graham.com

All Trussed up!

Pod #2 ready to finish...
This one ended up bigger than the green one and the inside with the purple is beautiful. I cannot, of course, turn it inside out, but it have given me my colours for the next 2d piece!

I was supposed to go to Toronto yesterday for an Ontario Crafts Council meeting, but between feeling not so well and the weather , I decided not to go. I attended the meeting by conference call, so put on my headset and felted during the meeting...is that multi-taking or what?! I felt very productive!

Things to do:
-pick up prints of images of "Harvest" for my show and get them in frames
-shoot some images of my new work
-select images for Lark book submission
-grocery shop (but it is nasty, blowing snow out there!)

I think I will just turn on the studio heater and felt for the next hour :o)


Visit my site www.andrea-graham.com

Tuesday, January 26, 2010

Next pod

Nothing too exciting....typical layout with a resist. You are looking at the inside of the pod which is a couple of colours of Harrisville. This is an inexpensive fast felting blend that I use as "filler" for lots of things to stretch out the good stuff when it will work to do so. The 2 different purples is not neccessarily a design element but, I was running short of one colour! You may see both if I do cut aways, you might not. It will be a surprise!

The middle layer is a fave, Finn wool, and the red is a C-1/pelsull which is a beautiful heathered brick colour. I really like this wool. It takes a bit of getting to know, but once you do, it will be your friend. The Finn wool migrates to give some shading in the folds I create and the purple will show if I decide to do any cutouts. Voila! I am actually at the fulling stage right now so should have it hanging to dry today. Then I get to start pod #3. I then have three small pieces to make and that should do it for show art work! Well, off to start my day: drive kids all over, studio, drive kids all over, studio, sleep...
Visit my site www.andrea-graham.com

Specimens

Specimens
Investigating!